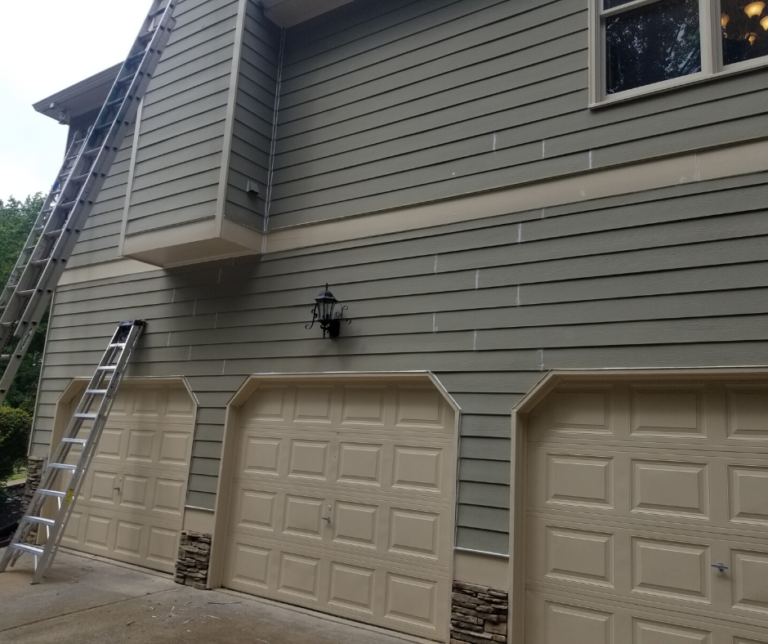
Double Prep Process

The Critical First Step
The preparation process is a very important first step before any paint is ever applied. Unfortunately, this is often ignored or overlooked by many painters. We believe that prep is so fundamentally important and foundational to the life of your home that we built it right into our business model.


Our Prep Process
Power Wash: We come out in advance of the scheduled start date and power wash the entire house. We apply a detergent/mildewcide mix – killing mildew spoors and spraying away any dirt or grime that may have accumulated over the years. Also note that we make sure to spray at a safe pressure to not blast away any wood or cause any damage. This process usually takes between 2-4 hours.
Scraping: We start off by scraping away any failing paint. We take precautions to make sure we are simply chipping away loose paint and NOT damaging any wood.
Sanding: After scraping away loose paint, we must make sure that the surface is smooth. We do so by sanding down any rough areas or areas that have been scraped. We usually do this by feather sanding (by hand) to be as gentle as possible on the surface; although there are instances especially on older houses where a power sander is requested.
Priming: After the surface is cleaned, scraped, and sanded we apply primer to any spots of bare wood. This helps ensure that the paint will fully adhere to the surface. As part of the *2X Prep Process we lightly sand in-between applying a second coat of primer.
Caulking: In order to prevent moisture from getting behind the wood, we use a premium 50-year caulk to seal any vulnerable areas which were intended to be sealed. Opened cracks and pealing joints will have a double layer of caulk to insure durability. As part of our *2X Prep Process we also apply caulk to every joint and seam – even if it’s not showing any signs of failure or vulnerability. This provides an added layer of future protection to the substrate below.
Holes and dings: We will fill nail holes and any noticeable chips or dings visible in the trim. We will use flexible caulk for most of this but may need to supplement with wood filler or a 2-part epoxy (for larger holes). We might suggest wood replacement if certain areas or sections are too compromised.
